How to install OS X in Virtualbox
21 Dec 2010If you are like me and like experimenting with technology then on some point it must have crossed your mind to try out the OS X. If so then this is the way to play with it without owning an mac.
There are couple of things that you need for this:
- CPU that has hardware virtualization
- Virtualbox v3+
I am using the following:
- Ubuntu 10.04 64bit
- Intel CPU
- Virtualbox 3.2
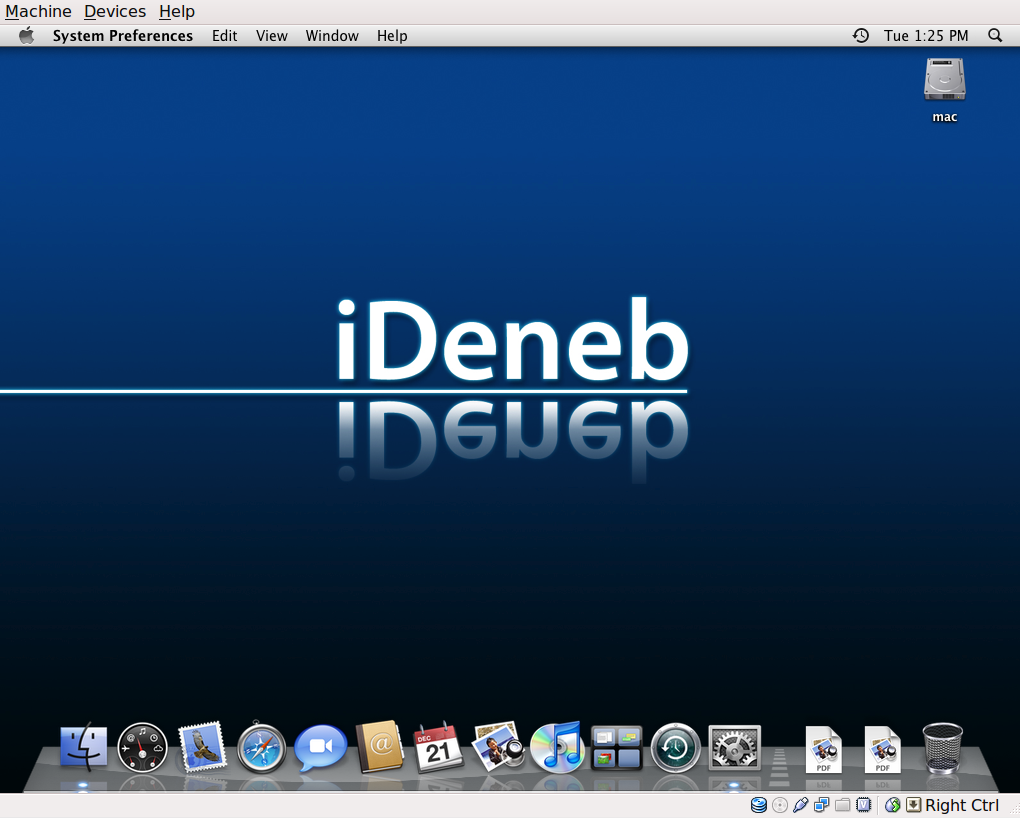
To be able to install OS X you need OS X installation files, to make things easier there are OSX86 installation DVD’s going around provided by our lovely people at ihackintosh. I personaly used the iDeneb v1.5. To find these DVD’s just use Google.
Step 1:
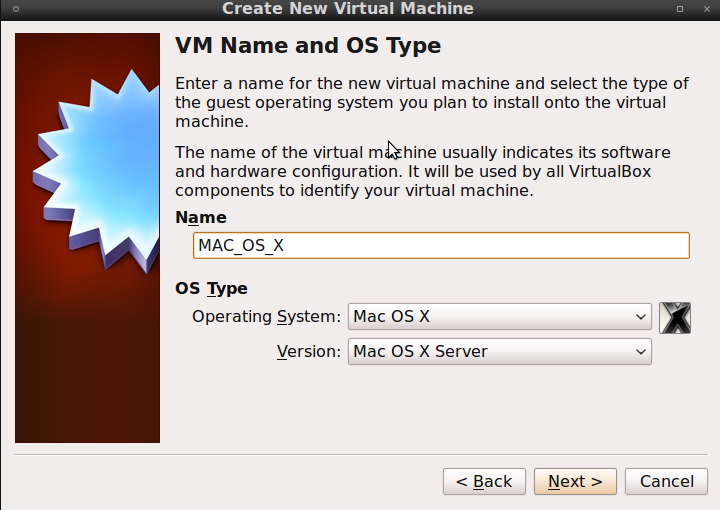
Create an virtualbox image with the following options:
- OS as MAC OS X and sub option MAX OS X Server
- 1gig+ memory
- 20gig+ disk space
Step 2:
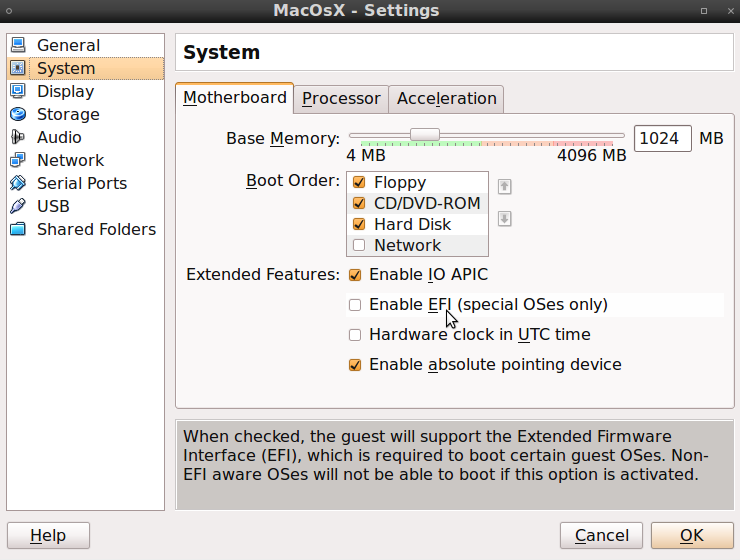
After creating the virtualbox image you need to change some settings on it:
- In “System” setting turn of the “Enable EFI (special Oses only)”
- In “Storage” setting change the IDE Controller to type = “ICH6”
- In “Storage” add the ideneb iso as CD-ROM
Step 3:
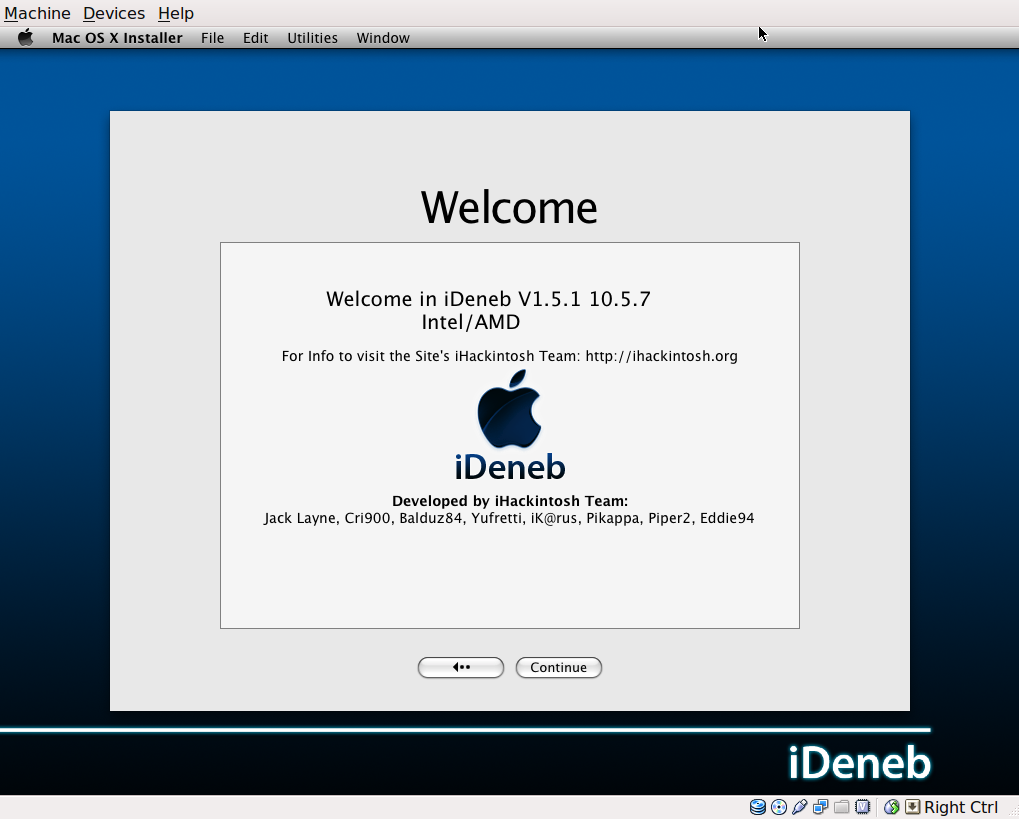
Boot in to your OS X installation
Step 4:
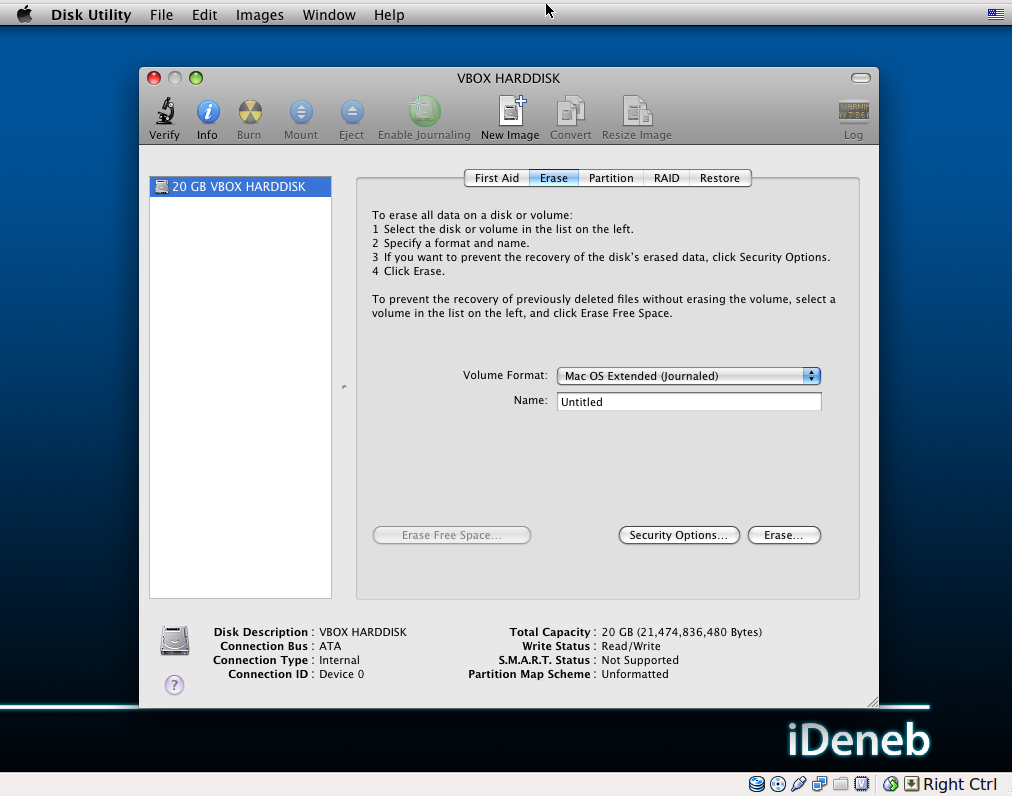
On the “Select a Destination”; screen you need to prepare the disk for OS X otherwise you will not able to select it, to do so do the following:
- Got to “Utilities” → “Disk utility”
- Select the harddrive and erase it with the format option “Mac OS Extended (Journaled)”;
Step 5:
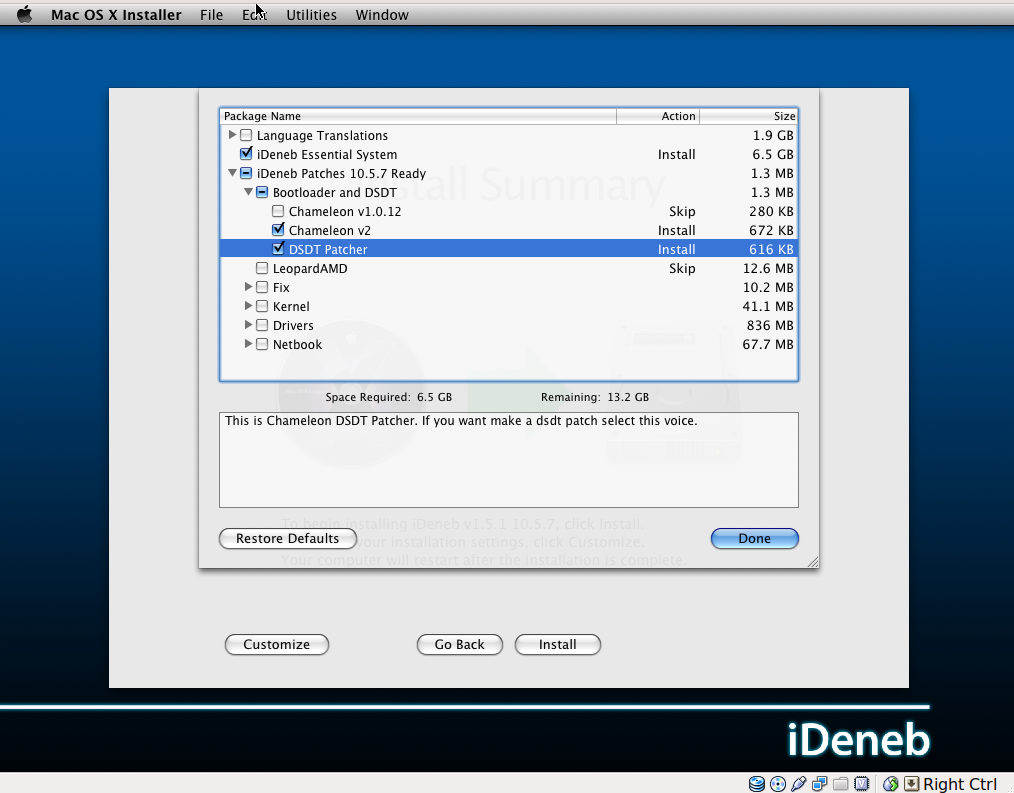
On the “Install Summary”; screen select Customize to add some additional settings to let it work, under iDeneb Patches 10.5.7 Ready -> Bootloaded and DSDT select the following:
- Chameleon V2
- DSDT Patcher
Step 6:
Proceed with the installation, after the installation is done before rebooting unmont the cd-rom in virtualbox.
Step 7:
Reboot and finish the post installation.
Step 8:
You have your self an OS X runing :)Have fun….